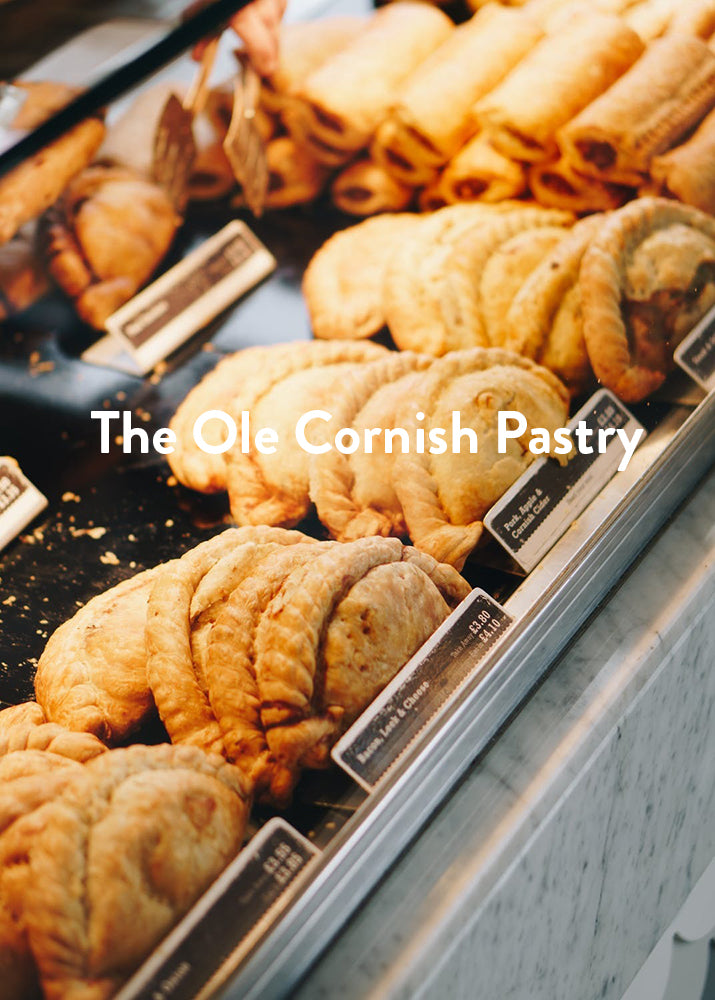

Let’s talk pastry! I don’t know about you, but I can’t resist a delicious savoury option. Whenever I’m back in the UK, one of the first things I buy is a pasty. There are many variants; pork and apple, vegetable curry, steak and stilton, chicken and bacon…but the quintessential QUEEN of pasties is the Cornish!
Like other famous delicacies such as ‘Champagne’ and ‘Roquefort’: legally, a ‘Cornish Pasty’ should not be deemed such, unless it is made in Cornwall (England) using a traditional recipe.
Although there are references to the pasty as early as the 1200s, the much-adored ‘Cornish Pasty’ was not created until the 17th century. It was an easy, handheld lunch option for the tin miners of Cornwall. And sturdy too, a well-made pasty could survive a long drop down the mine shaft! As meat was expensive at the time, the miners’ wives would load the pasties with veg and gravy to ensure a hearty lunch. Early Cornish pasties were predominantly filled with potato, onion and swede, with small hints of beef. Some pasty pioneers would put both sweet and savoury fillings in their pastry!
Here’s a recipe to follow, written by the Cornish Pasty Association, for you to make Cornish-style pasties at home!
Ingredients
For the shortcrust pastry:
· 500g strong bread flour
· 120g lard or white shortening
· 125g butter
· 1 tsp salt
· 175ml cold water
For the filling:
· 400g good quality beef skirt, cut into cubes
· 300g potato, peeled and diced
· 150g swede/turnip*, peeled and diced
· 150g onion, peeled and sliced
· Salt & pepper to taste (2:1 ratio)
· Beaten egg or milk to glaze
*The vegetable to use is the yellow-fleshed swede, not a white turnip. This is known commonly in Cornwall as the turnip. It’s also known as the yellow turnip/Swedish turnip in some places and in North America it is called rutabaga.
Method
1. Add the salt to the flour in a large mixing bowl
2. Rub the two types of fat lightly into flour until it resembles breadcrumbs
3. Add water, bring the mixture together and knead until the pastry becomes elastic. This will take longer than normal pastry, but it gives the strength that is needed to hold the filling and retain a good shape
4. Cover with cling film and leave to rest for 3 hours in the fridge. This is a very important stage, as it is almost impossible to roll and shape the pastry when fresh!
5. Roll out the pastry and cut into circles approx. 20cm diameter. A side plate is an ideal size to use as a guide
6. Layer the vegetables and meat on top of the pastry, adding plenty of seasoning
7. Bring the pastry around and crimp the edges together (this video shows you how to crimp)
8. Glaze with beaten egg or an egg and milk mixture
9. Bake at 165°C / 330°F (fan oven) for about 50 – 55 minutes, until golden.
Omlowenha dha voes!


